Hi everyone!
Earlier this week I got a really cool new product in the mail and I had to play with it right away. It is so much fun I had to pop in here to let you know about it. It lets you make customized envelopes super easy and super fast. It's so fun because suddenly you realize you can make the coolest envelopes from all different kinds of scrappaper. For a video about cool ways to use it go HERE. I'll be back later to show you a sweet set I made from wallpaper!
But today I thought I could show you how to use it with your digi images. It is a clever product in so many ways - one thing I love about it is that it is transparent so you can plan exactly where you want your different images and sentiments. Here I'm working on the computer and can see exactly where my images will end up on the finished envelope! The stripy parts will be overlapped by the other folds.
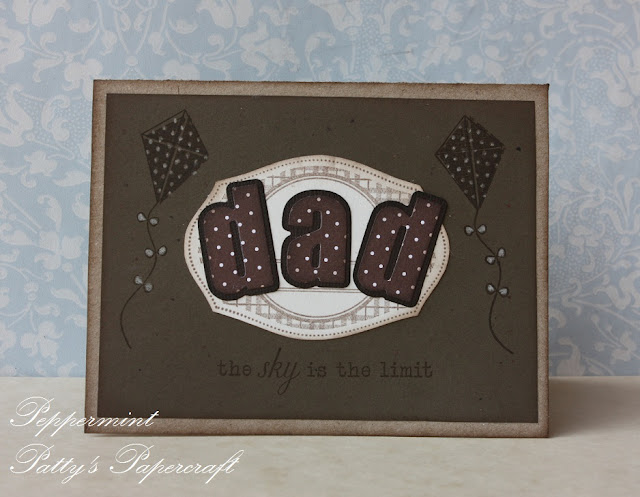
Here's how I made this sweet little cardset:
1 . I opened up a new document in Word, drew a rectangle image to get a border around my envelope, held up the template against the screen to see what angle it should be and then positioned my images and sentiment where I wanted them. The stripy markings show where the paper will overlap so you know exactly what will show on your finished envelope . Then printed it out.
2. Next you just simply rip off the exess paper against the sharp edge of the template. If you do this towards the middle of the template you'll get a beautiful Clean tear - but if you want to, the template is so sturdy you can always trim it with a craft knife!
3 Flip the paper over and add the center piece - hold it in place when removing the sizing temlate.
4. Fold the sides first, then the bottom - use a glue stick to seal the bottom to the sides. Finally fold the top. Pull out the "card" and voilá you have a beautiful envelope.
What I did next was to print out some cards to go with the envelope and simply put the envelope template on top and tore off the excess paper. In no time I had matching cards and envelopes!
I saved the file and can now just change the images - will soon make a full letterpaper set for my niece with her favorite images (-:
For more tips and techniques, samples and video instructions, visit;
Have a great day, hugs, Karin


