
I am so excited to be here
today to share two projects I’ve made with the absolutely AMAZING Shadow Box
Collection by Becca Feeken. It is a dream to work with -so many possibilities.


When I put together my first box I thought that it would make a beautiful photoframe and since the daughter one of my friends in the US (I’m in Sweden) is soon turning one I thought this could make a beautiful but light (good for shippingcosts (-: ) gift to send across the pond!
The actual frame is easy to cut and put together so instead of doing a
tutorial about that I’m sharing how I created the flowers for the frame and the
coordinating card.

Instructions:
Step1


Diecut two of each flower Cinch and Go IV from watercolor paper. I use Canson’s
Montval paper which is 200grms/100 lb which can take a bit of abuse but is not
too heavy to squeeze and shape when wet.
Step 2


Ink them with distress ink. I used Spun Sugar and Picked Raspberries and
then hold them together with a mini brad. Use a white or one the same color as
your flower so you can keep it in place even if you want to add some other
decoration to the center of the flower afterwards.
Step 3


Then soak your flower in hot water 1-2 min is enough. Some, oir rather a
lot of the ink will come off since it is water soulablebut enough will remain
to give your flower a beautiful color.
Step 4


When it is wet you should be able to take it up and squeeze it together
like in the picture above. If it feels too hard put it back in the water and
let it soak us some more before squezing it out agan. Then unfold the petals
and shape the flower as you want it. Let it dry and then add your center decoration. I used some selfadhesive
pearls.
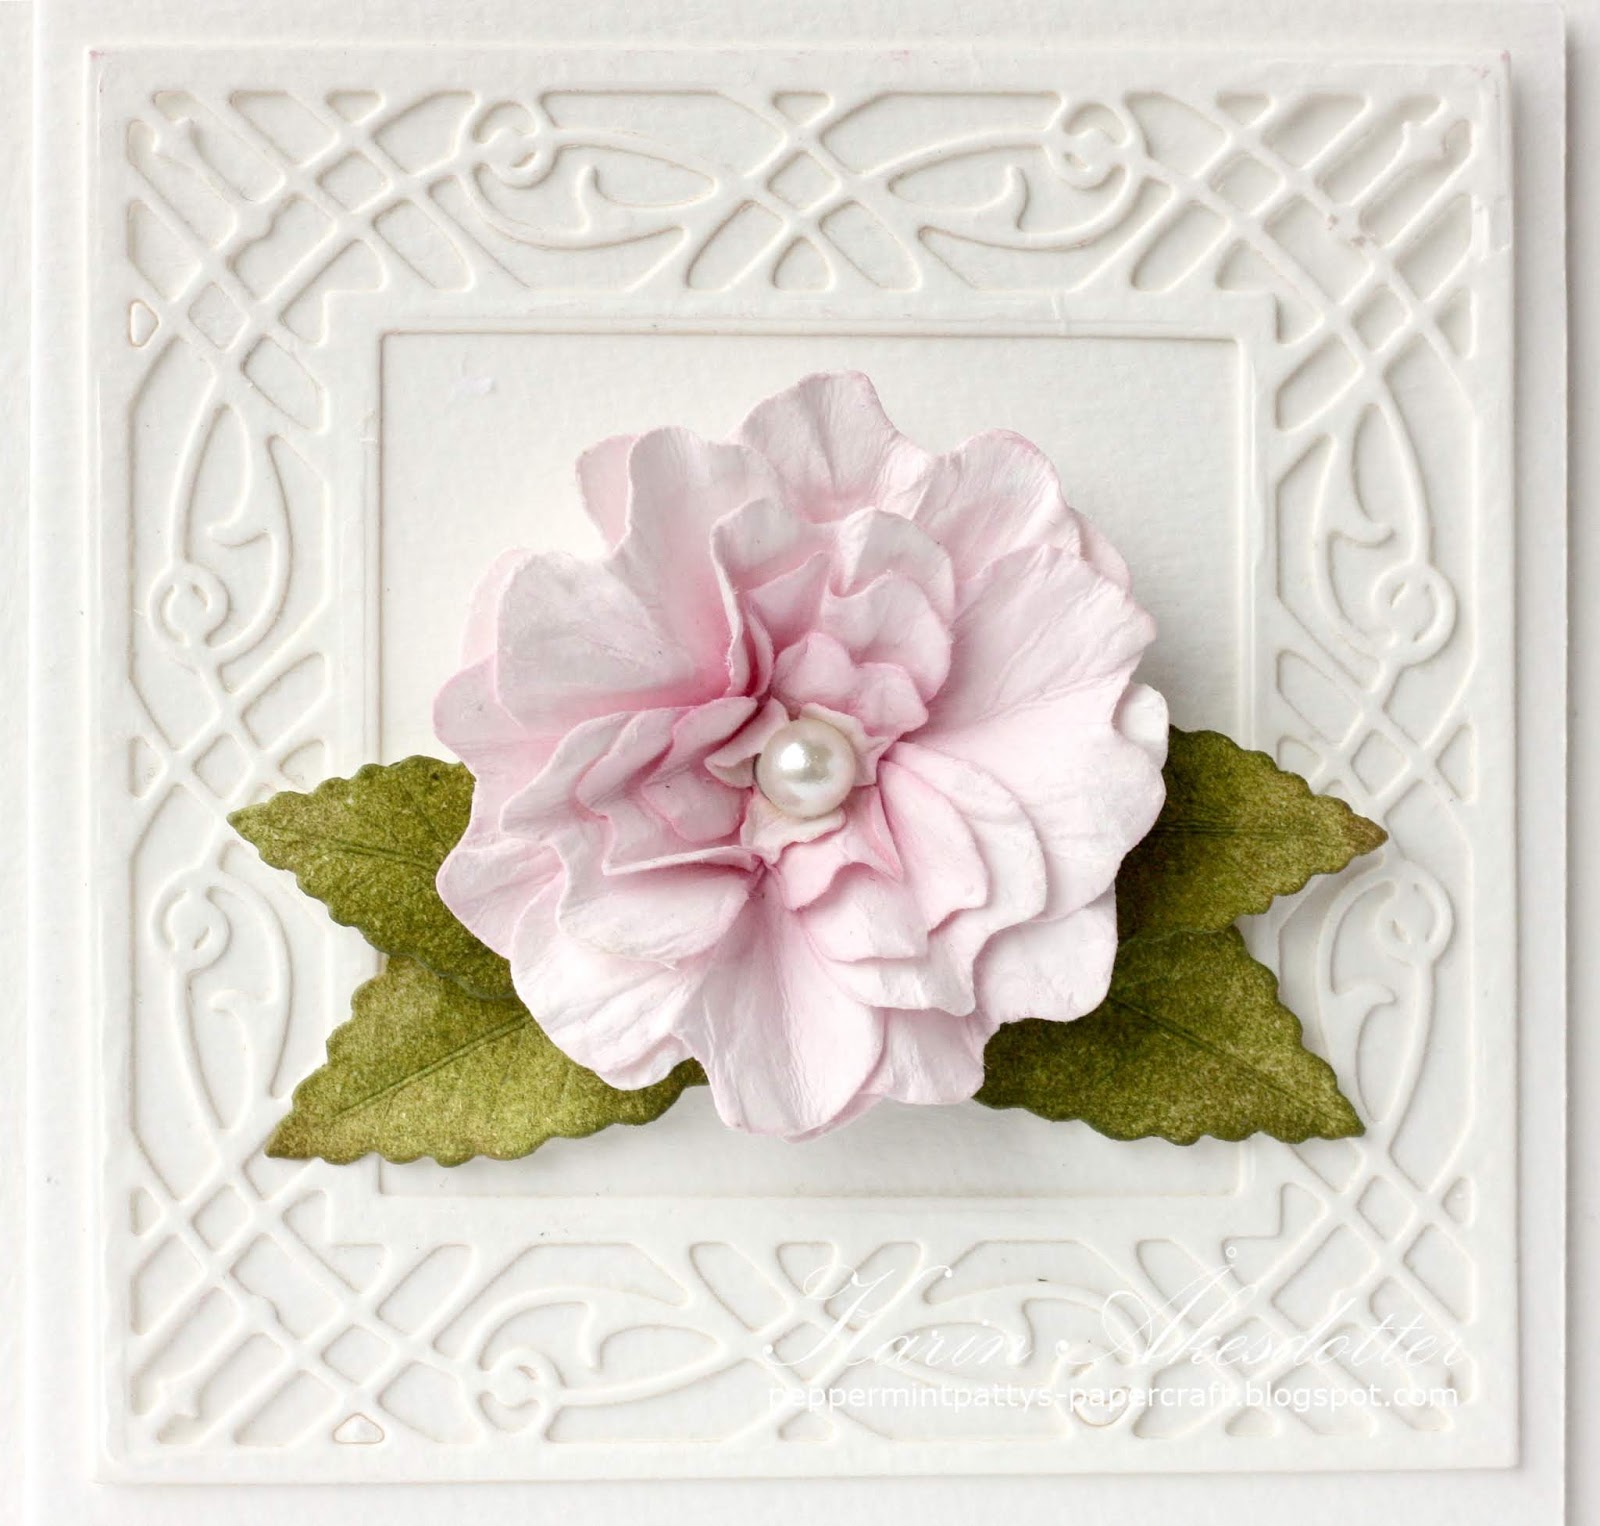
The leaves are inked with Peeled Paint and Forest moss Distress ink and
folded along the center score to givet hem some shape.

When the flower was dry I added a perl to the center. I then decorated my
frame with the wonderful Callista Rectangle Shadowbox Frame. I
adhered the flower and leaves using gluedots.
The co ordinating card is made the same
way.
Spellbinders supplies
: list all Spellbinders supplies you used for this project.
Shapeabilities Cinch and Go IV
Shapeabilities Layered Friends Forever Café Scene
Layered Thinking of You Woodland Scene
Callista Rectangle Shadowbox Frame
Adoria Square Shadowbox Frame
Lisette Oval Shadowbox Frame
Other supplies
Sentiment Stamp from Spellbinders January Card kit
Non Spellbinders supplies :
Canson’s Montval watercolor paper
Tombow adhesive tape
Pearls
Archival Jet black ink
Patterned paper: Bo Bunny Early Bird
Rangers Distress ink
Glue dots
For more of my projects please follow me on Instagram : https://www.instagram.com/peppermintpatty42/
You can read more about the Shadowbox collection HERE
You can read more about the Shadowbox collection HERE
Please come back soon because I have
a couple of more Shadow box projects that I’m excited to share with you
here!

I also share my cards and watercolors here: My Instagram and in my PINTEREST FOLDER


Have a great day, hugs, Karin
4 comments:
These dies are lovely - I do love Becca's products! And thank you for reviewing this way of constructing these beautiful flowers.......I had forgotten the process.
This is an exceptionally beautiful pair of projects!!
Oh ..... so loved!!!!!!
Beautiful projects, Karin! Thank you for the terrific tutorial. I'm sure you friend is/will be thrilled with the frame. Thanks so much for sharing!
Post a Comment